
Okay…let's get building!
A few things to mention:
The main thing you should be careful of is static electricity. If you live someplace where you're constantly getting "zapped" by doorknobs, DVD players and other people, you really need to either wear one of those goofy grounding straps on your wrist, or be sure to always make sure you're touching something large and metal BEFORE you start picking up RAM sticks and messing with the motherboard, etc. One big static arc can burn out a component, and you don't want that to happen.
Don't force things. Be patient, work with plenty of light, and if it doesn't fit, take the time to figure out why. Most of the things you'll be working with are designed to be almost impossible to put in the wrong way, with notches, keys, and fittings that are pretty much idiot proof.
I like to start by installing the CPU and the RAM sticks before I put the motherboard in the case. It's easier to work with, and as long as you're careful, there should be no problems doing this.
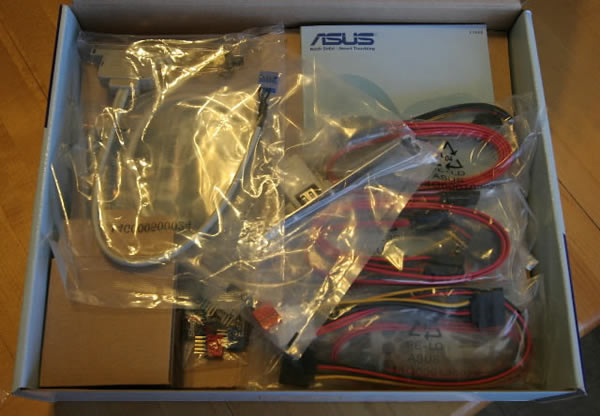
The motherboard comes with all (or most of) the cables you'll need. Here you can see some SATA drive cables, power cables, additional USB and fire wire ports that can be connected internally, and the all-important manual.
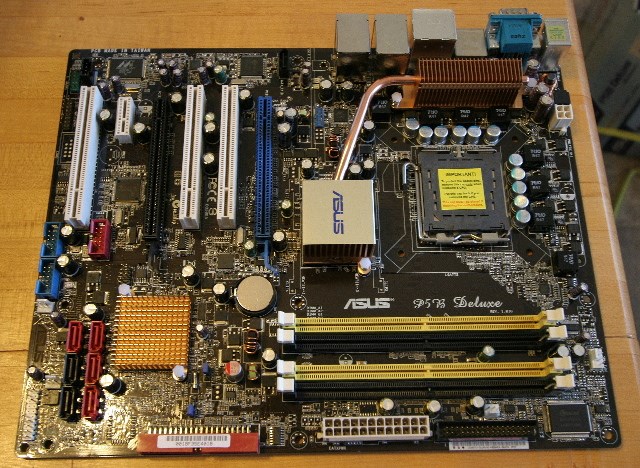
If you've never worked on a computer before, the motherboard can look a little intimidating. Just think of it as the thing that everything else gets plugged into. The big yellow and black slots in the lower right corner are for your RAM chips, the cpu socket is the thing with the yellow label on it above those slots. The blue slot is for your PCI-e x16 graphics card, the white slots are PCI slots, and the black slot is a second PCI-e 16 slot for a second graphics card. The tiny white slot is a PCI-e x1 slot. The manual that comes with your motherboard explains what all the different slots are for.
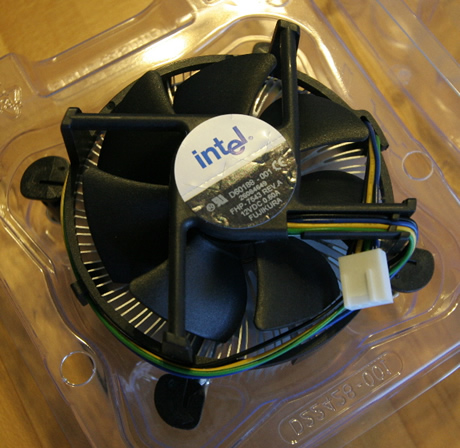
This CPU package came with a cooling fan. I actually ordered the Tuniq Tower, but got an email saying that the shipment was held up in the snow in Ohio or some such place, and won't be here for a week. So being the impatient S.O.B. that I am, I'm going to go with the cooling fan that came with the CPU for now, and swap out to the Tuniq tower later when it gets here.
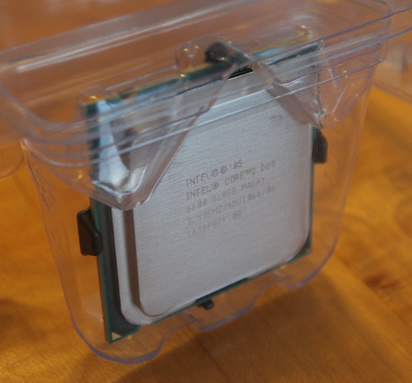
The CPU itself is a pretty tiny thing.
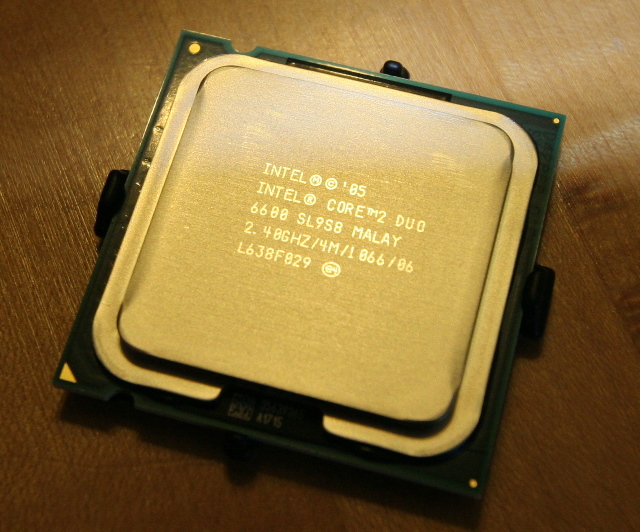
The brain in all it's glory.
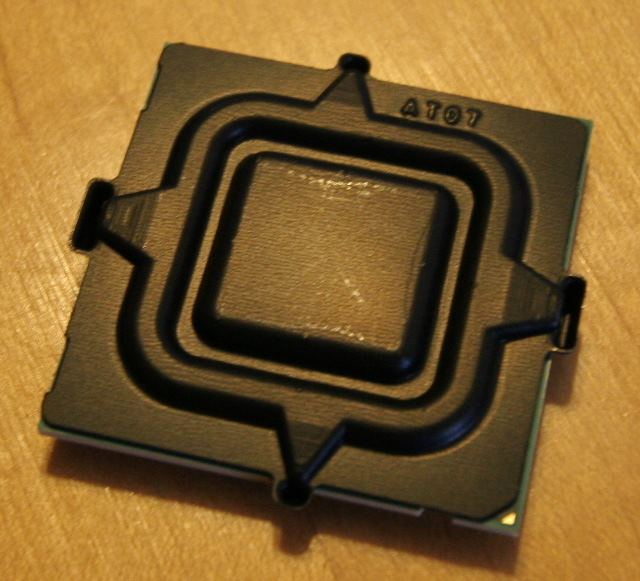
The underside of the CPU is protected by a plastic thing. Remove it.
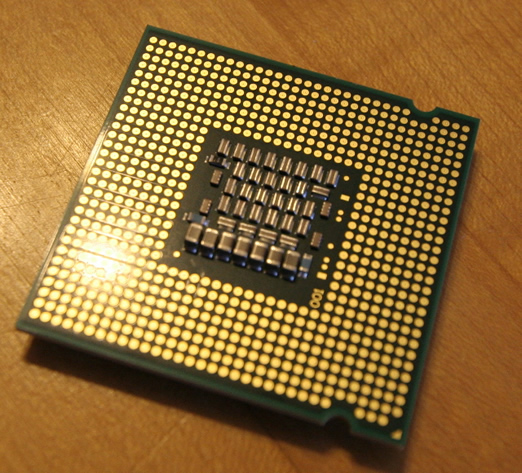
The underside of the CPU with the protector removed. Don't touch anything...handle the CPU by the edges. You'll notice that there are notches at the top and bottom edges. These are to help prevent you from putting it in the wrong way. These notches line up with tabs on the socket.

This particular board has a shipping cap placed over the cpu socket to protect the socket pins. Remove it when you're ready to plug in the CPU.
There's a latch/handle thing that can be pulled back allowing you to open the lid of the socket housing.
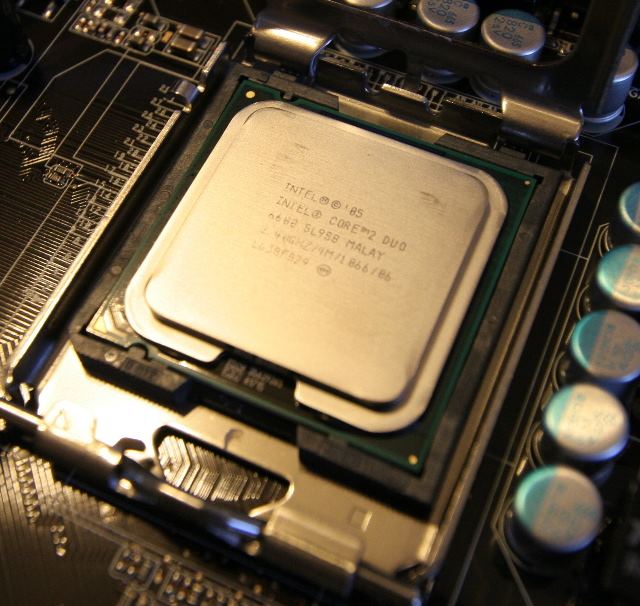
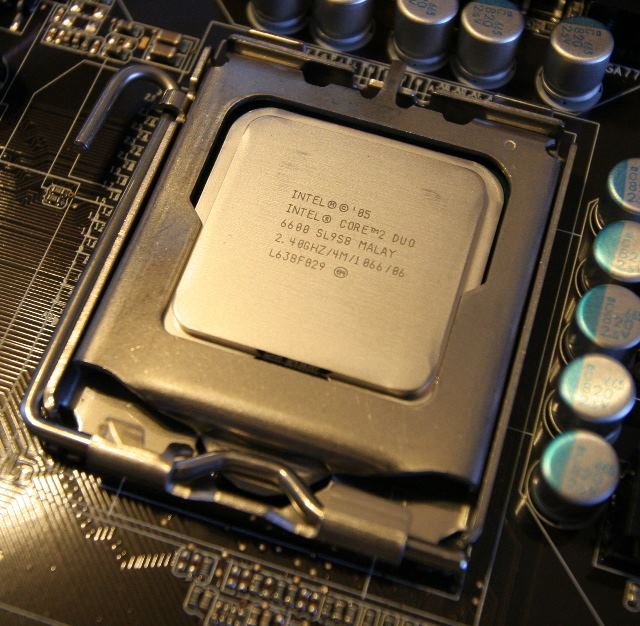
Here the CPU has been set in place into the socket.
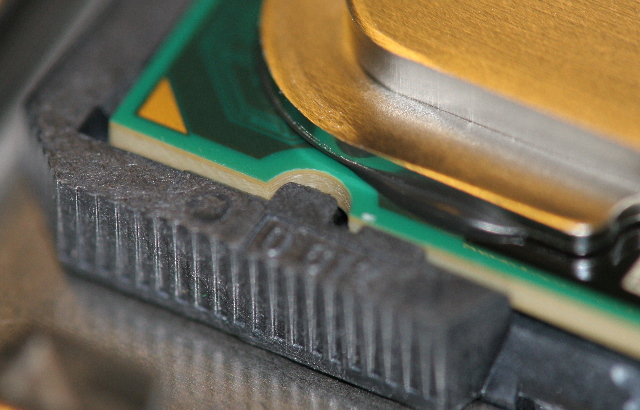
Here you can see how the notch in the edge of the CPU card lines up with the tab in the socket, making it impossible to have it rotated the wrong way.
Then the lid of the socket housing is closed, and you press the arm back down (the arm is on the left side). It latches into place. It takes a fair amount of pressure to close the lid, which insures that all pins will be in contact with all contact points of the CPU. Notice how the top of the CPU sticks up beyond the lid...that's to allow a good surface contact with the CPU cooler we'll be installing next.
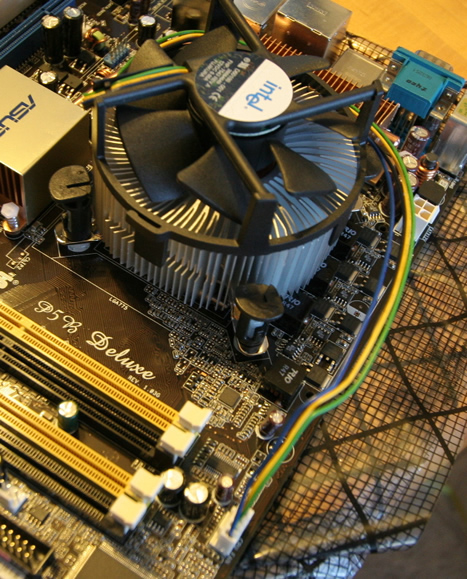
Here's the CPU cooling fan that's been attached to the CPU. To be honest, I didn't like this cooler. It attaches by pressing down on the four big pin connectors at the corners. It took a TON of pressure to get these into place, and once or twice one of the pins actually popped out. It did not give me a good feeling about how well the cooler would stay in place, and if your cooler comes loose, you could be in BIG trouble. Nobody wants a fried CPU. Later in this tutorial I'll replace it with the Tuniq Tower.
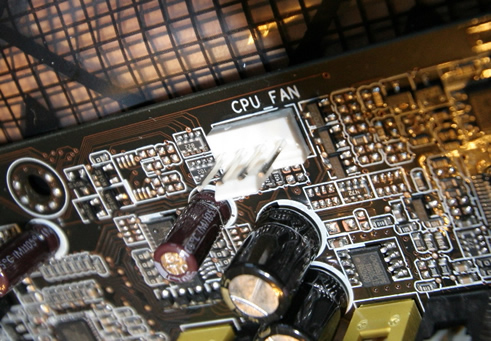
Don't forget to plug the cable from the cooling fan into the connector on the motherboard. That's where it gets its power.
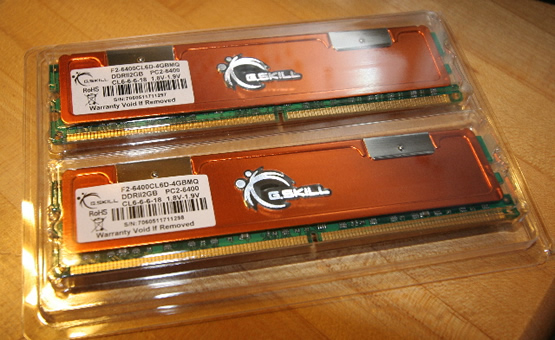
Let's put the RAM sticks in next. I've got two 2-gig sticks here for a total of 4 gigs.
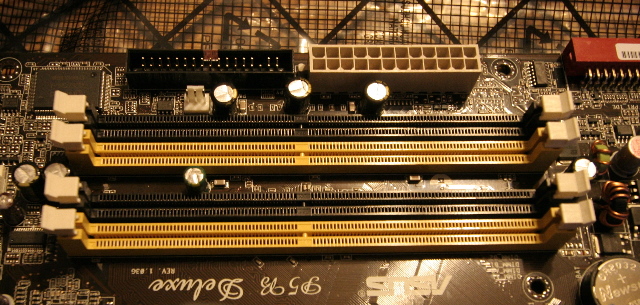
These are the RAM slots (also known as DIMM sockets.)
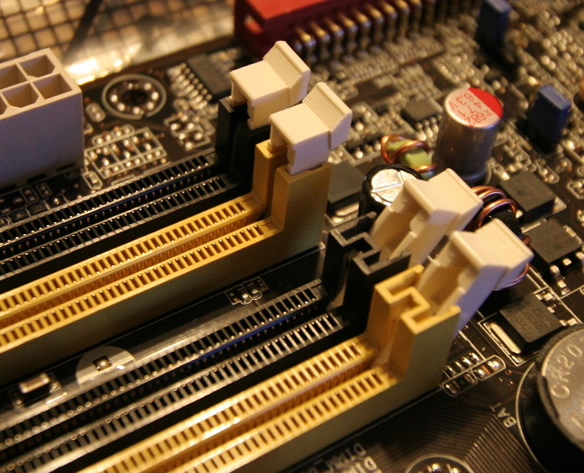
The nice thing about RAM slots is that they have these clips on the end that help tell you whether they're installed all the way. You pull the clips back, press the RAM stick into place firmly, and as you do the end clips close back up, and hold the RAM in place.
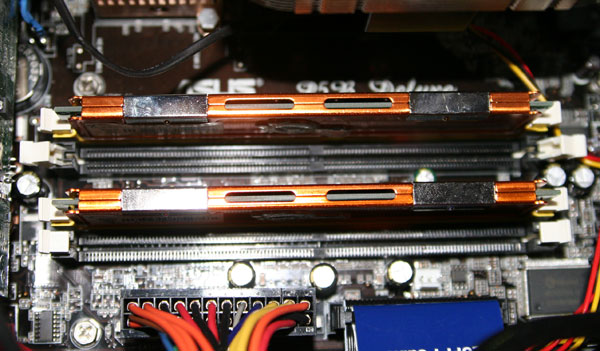
The RAM in place. It's kind of hard to see in this shot, but the slots are color-coded on many motherboards. (Check out the shots above this one.) To take full advantage of Dual Channel mode, you want to put a ram stick in each channel. So here I have DIMM sockets 1 and 3 populated, (the yellow slots) and 2 and 4 (the black slots) are empty, allowing me to add more RAM in the future. (Channel 1 is composed of slots 1 and 2, while the second channel is composed of slots 3 and 4.)
Ok, with the CPU installed, the CPU cooler installed, and the RAM in place, let's get the case ready.
![]()
![]()